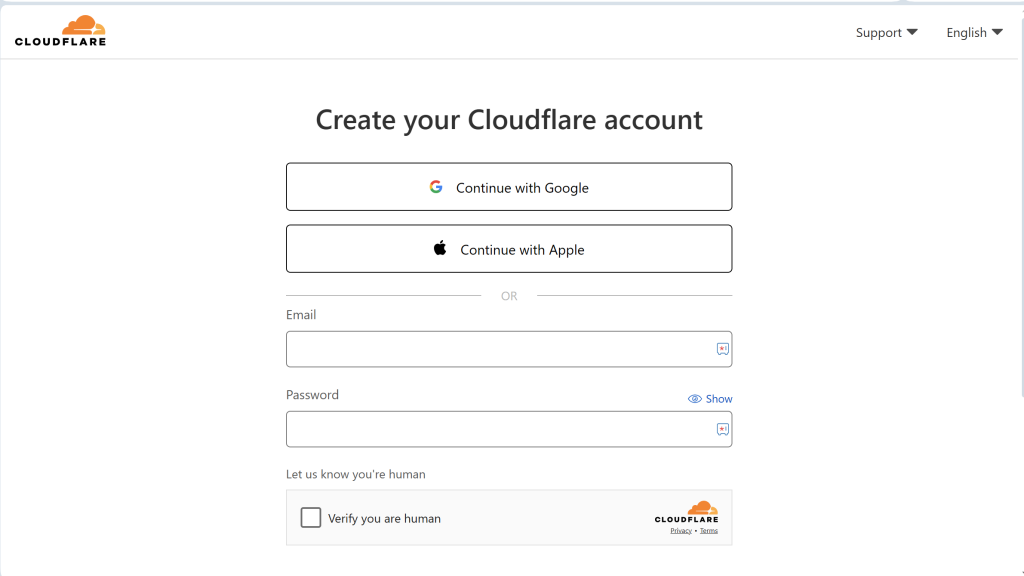
This information is for directly after you have setup a new Cloudflare account by following our “Sign up for a new Cloudflare account” article. This information is also for domains that are already registered with a registrar. If you need to register a new domain, Cloudflare does offer this option as well, but it is not covered in this article. To use this option, you would click the “or register a new domain” as shown in the step 1 screenshot below.
Step 1.
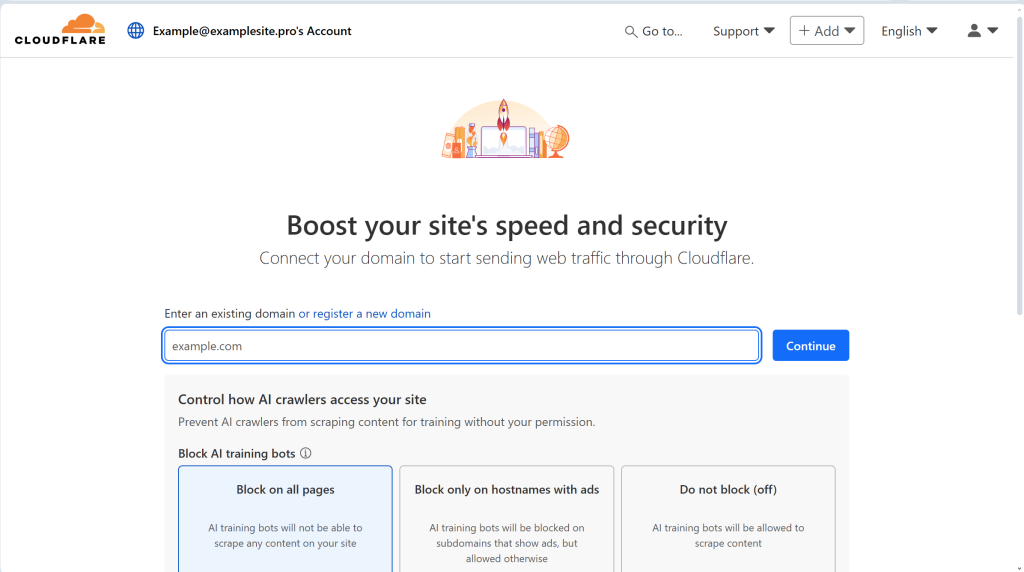
On the page you came to after signing up, enter in your domain:
Step 2.
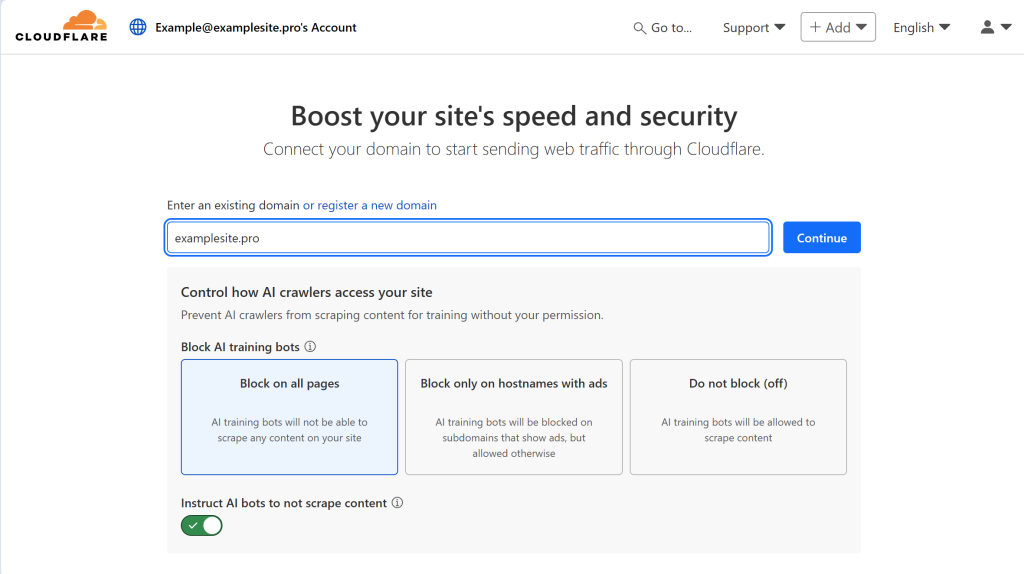
Choose how AI crawlers access your site. The default is to block them from accessing all pages on your site.
What are AI Crawlers:
AI crawlers are advanced web crawlers that use artificial intelligence to understand, analyze, and index website content more intelligently than traditional bots. Instead of just scanning keywords and links, they can interpret context, extract structured data, and even summarize content. These bots can use up a lot of resources on your site that should be used for legitimate human requests. You may also choose to not support them by giving away your data.
Step 3.
Click the Blue continue button, to continue on to the DNS records screen:
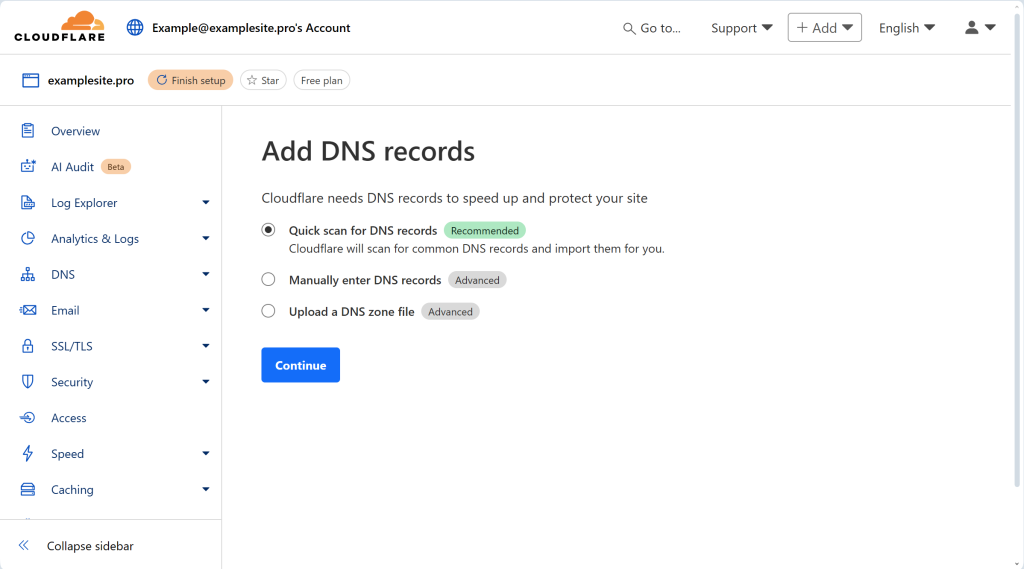
If this domain is brand new at the registrar, select manually enter DNS records. Otherwise if you select quick scan, it will pull in several records you will need to delete.
If your domain is already hosted somewhere, and you have DNS records setup that you need pulled into Cloudflare, select the Quick scan for DNS records.
After you select continue, you may be presented with a screen (not shown in screenshot) to select the Cloudflare package. Go ahead and select the free package for now, and continue through, it is intuitive. The next screen will show the DNS records screen, similar to:
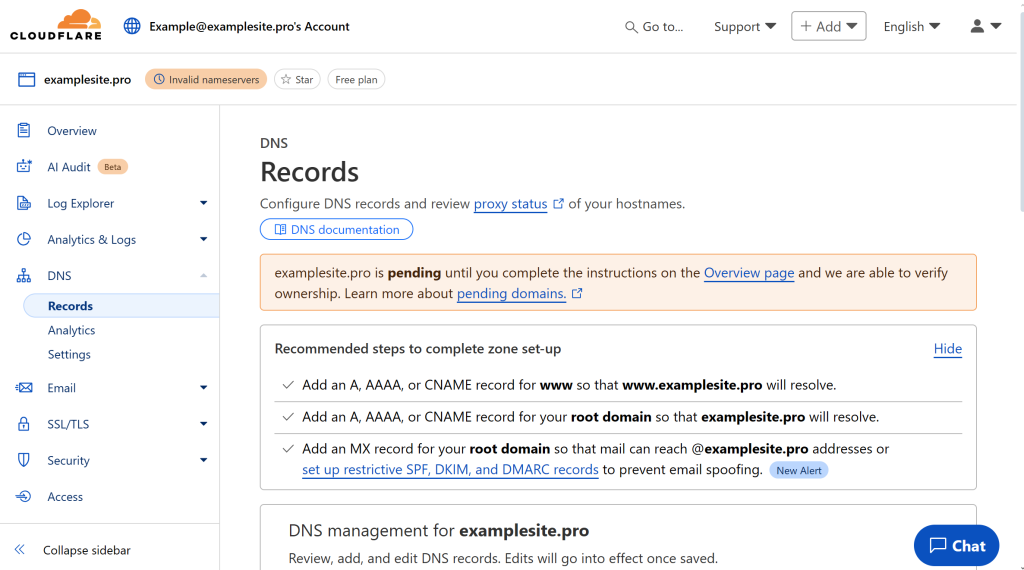
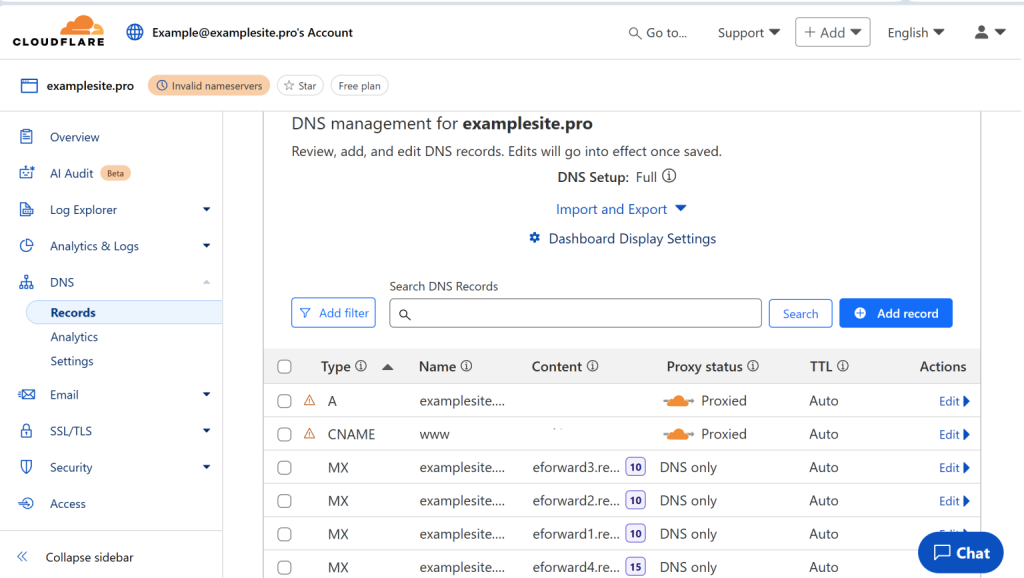
Enter in the appropriate records given, which should mainly be an A record to point your site to your server. Please note the screenshots contain just demo information, your data will be different.
With this, you want to make sure the orange cloud stays orange, and it says proxied. This means traffic to your site, will traverse through the Cloudflare network. A grey cloud will expose your record, while an orange cloud hides it.
Step 4.
Once you get everything added, continue onto the next screen (at the bottom of the DNS records screen) which will show you the nameservers information to set at the registrar.
Another option – if you imported and saved the DNS records to your liking, is to continue, and then click Overview in the left side tab menu:

On this overview page, see number 3 for your nameserver information:
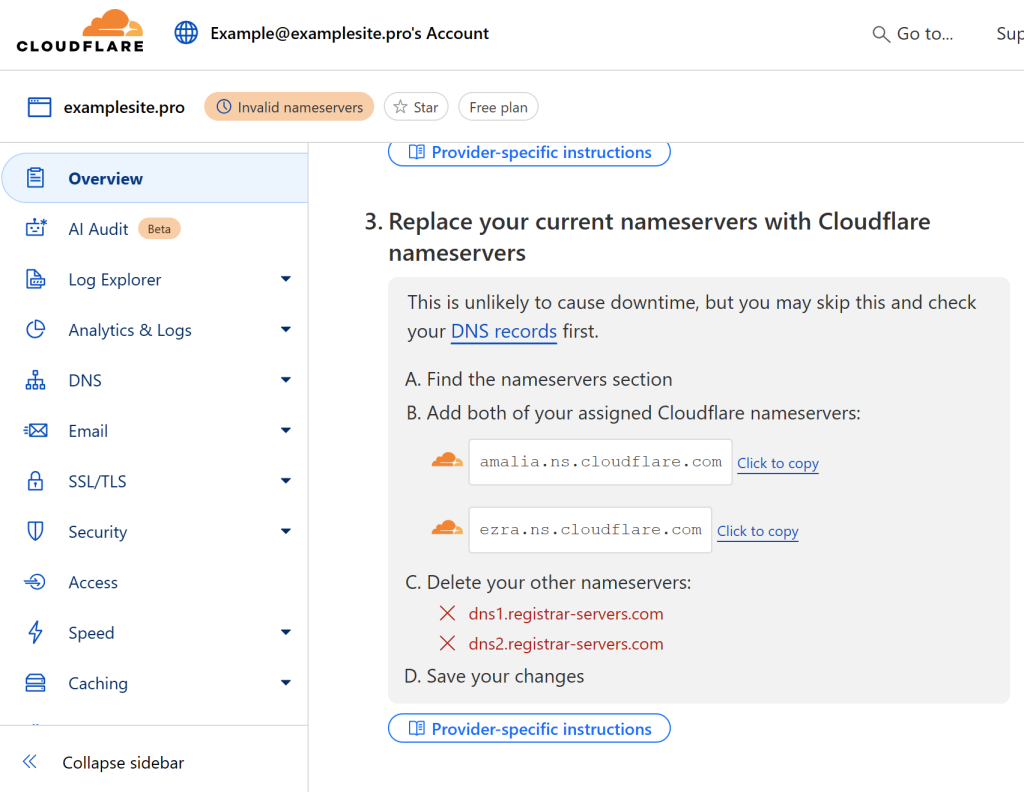
Your nameservers to set may most likely be different. At the registrar where you purchased your domain, set the nameservers, making sure to remove the old nameservers. This process makes Cloudflare the authoritative DNS nameservers, meaning all DNS changes need to be made at Cloudflare only.
Once these steps are complete, your site should start propagating, and using Cloudflare. This may take up to 24 hours for full effect.
Once your sites nameservers are fully propagated, the overview page should show like the following:
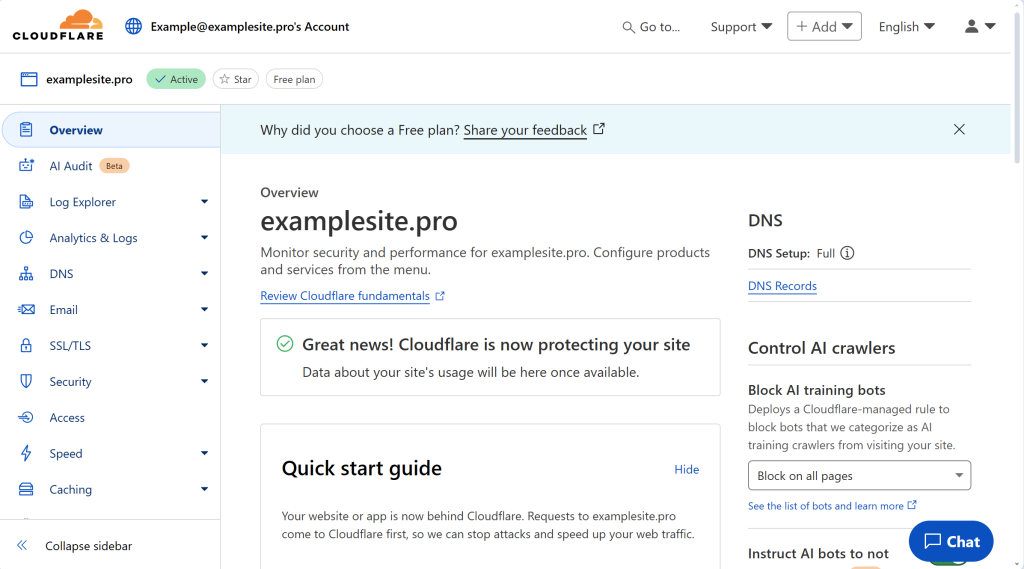
Your site should now be fully using Cloudflare. Test by visiting your domain to make sure it is now loading.
Sponsored:
Need fast, reliable web hosting? Get started with Vertahost.com — offering free and premium hosting plans with cPanel and Directadmin, free SSL, and 24/7 support. Perfect for personal sites, blogs, and small businesses. No contracts. No hidden fees. Just great hosting starting at $7/month.
Visit Vertahost.com to launch your site today!